Half the battle of making perfect percolated coffee is keeping your percolator in good shape. It makes sense - the better your percolator runs, the better your coffee will be.
While you might not be able to fix you percolator if it has a larger mechanical issue of some sort (in those cases, it might be better to just purchase a new percolator!), you can avoid smaller issues, like clogs, by keeping the system clean.
Here are a few easy methods for cleaning your percolator to keep it stain-free and running smoothly.
How to Clean Stains From the Inside of Your Percolator Coffee Pot

Method #1: Baking Soda and Cream of Tartar
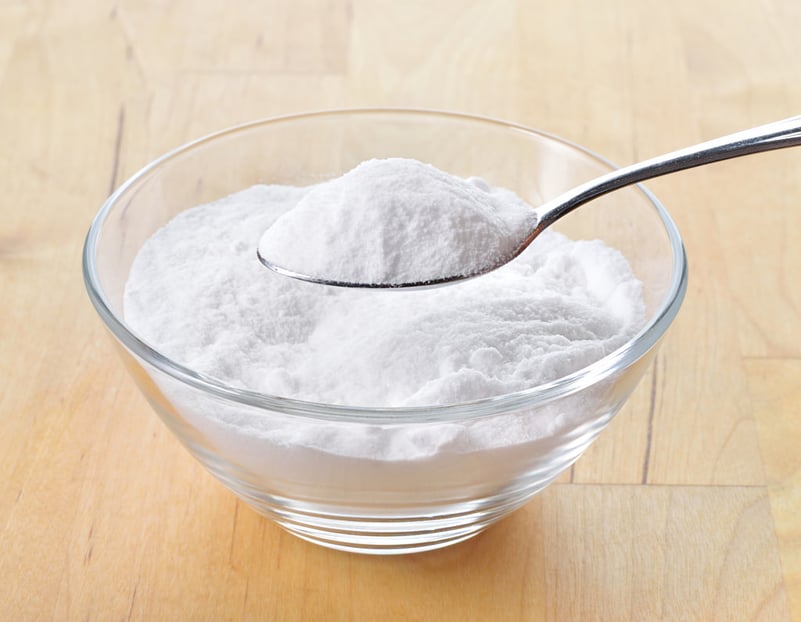
- Fill the pot with water and add about 2-3 tablespoons of baking soda or 2-3 teaspoons of cream of tartar.
- Let your machine perk away; then let the water cool down completely. Careful not to burn yourself!
- Scrub the pot with a nonabrasive tool, like a dishcloth. If the stains are being particularly stubborn, try using a plastic scrubber - but only if you absolutely need to, as these tools can sometimes scratch stainless steel surfaces.
- Finish by rinsing well. Enjoy a nice cup of java from a spotless percolator!
Method #2: Vinegar
- Mix equal parts white vinegar and water in a separate bowl or bin.
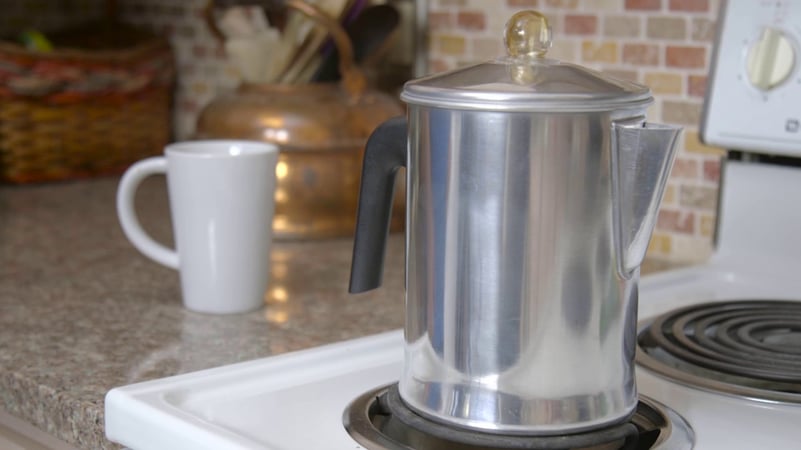
- Fill the percolator with the vinegar and water solution and turn it on, or turn on the stove burner beneath it, if it's not an electric model.
- When it's finished percolating, turn off the heat, let it cool, and pour the used solution down the sink.
- Re-fill the percolator with another round of vinegar and water solution, and turn it back on again. Turn it off, let it cool and discard the used solution again.
- For your third time, fill your percolator with clear water, and turn it on. Let it perk. Turn it off, and let it cool down. Empty out the water.
- Repeat with clear water once more, just to get that vinegar taste/smell out of your machine.
- Remove stains from inside of the percolator by putting in one-half cup of baking soda. Slowly add white vinegar until the mixture begins to bubble.
- Cover the percolator, and shake it gently for a minute or two. Rinse thoroughly and your percolator will look (and run) good as new.
How to Clean Your Percolator Basket

Method #1: Easy Cleaning
- For a basic cleaning, begin by unplugging the electric percolator from the outlet in the wall. (Always do this!) Consume or pour out any remaining coffee liquid. Wait about 10 to 15 minutes for the unit to cool down.
- Fill a small bowl or bucket with 1 quart of hot water. Add 2 tablespoons of mild dish detergent to the container. Stir the water and detergent together. Place the container near where you plan on cleaning the percolator, as to avoid making too much of a mess.
- Take off the percolator's lid or cover, according to manufacturer specifications. Discard the coffee grounds and your coffee filter in the trash.
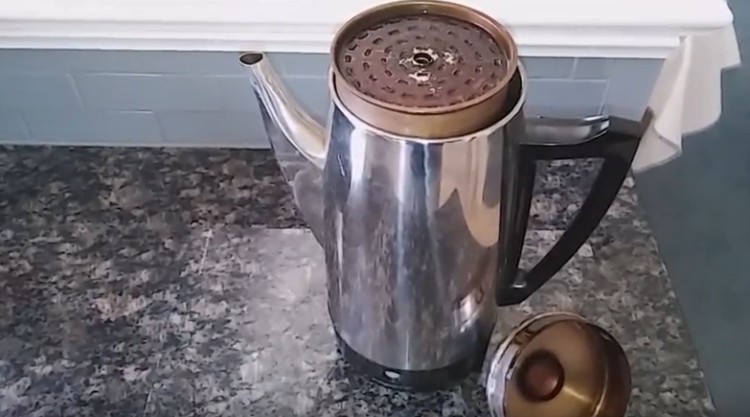
- Take the basket out of the percolator, along with the spreader and stem.
- Wipe and wash the basket with a soapy washcloth. In general, you can wash other internal parts of the percolator using the same method but refer to the manual for any restrictions.
- Rinse the basket under hot tap water. Dry the basket off with another cloth, or let it air dry.
- Reassemble the percolator, including the now-clean basket!
Method #2: Deeper Cleaning
- Unplug the percolator and empty the liquid contents. Discard the used coffee grounds and the filter. Leave the lid off and the basket out of the percolator for 10 to 15 minutes, allowing the unit to cool down.
- Fill the percolator with half the maximum amount of water from the cold-water tap that it can normally hold. For example, if the appliance can make 12 cups of coffee, add only 6 cups of cold water to the percolator.
- Add white vinegar to fill the percolator up to the maximum. For example, if the reservoir contains 6 cups of water, add 6 cups of white vinegar to fill up a 12-cup percolator. Refer to your owner's manual for the exact amounts of water and vinegar that should be used for deep cleaning.
- Put the basket back in the percolator. Close the lid. Plug it into the outlet and let the system perk.
- After the cycle is done, wait 15 minutes; this gives the vinegar solution the opportunity to descale and remove stains from the basket, as well as other internal parts of the percolator.
- Unplug the percolator to turn it off. Pour out the vinegar and water solution. Allow the unit to cool for 15 minutes.
- Rinse out excess vinegar residue. Clean the basket and other internal parts of the percolator using mild dish detergent. Do not mix vinegar and mild detergent during the process.
Note: Always make sure to refer to your owners manual before cleaning your percolator or basket. Some brands will allow you put your percolator basket in the dishwasher, others will not. Take care to not mix vinegar and dish soap while cleaning.
Basic Cleaning Tips

To make sure your percolator is ready for everyday use, wash it out immediately after each use, and don’t allow the coffee to dry out inside. When cleaning, regular dish detergent (for the sink, not the dishwasher) should work just fine.
If your percolator still smells of coffee after cleaning, then it needs a more thorough clean. It may require several tries or you might need to use more dish soap while cleaning.
Also, keep your coffee pot clean by discarding unwanted, unused coffee right away. Best not to let hot coffee stand in the pot for long, as this can “bake in” that pesky java color. Allowing coffee to linger in the pot can “cement” the coffee into the metal, and greatly complicate removing stains and smells.
Stainless steel percolators will resist staining as long as you do not scratch the surface. To keep from dulling the surfaces in the pot, basket, spreader, and well stem, avoid scouring with any abrasive cleansers, pot scrubbers, steel wool pads, and bathtub cleaning agents. Any sort of scrubbing device made of metal, such as wire brushes or burnishing tools, should be avoided at all costs.
Even plastic or Nylon scrubbers should be used sparingly on stainless steel parts. Save these for the really tough stains, and rely primarily on your dishcloth for routine cleanup.
When cleaning the well tube, be sure to remove those pesky little coffee granules that often embed themselves behind the washer at the bottom of the tube. You can use a small knife, needle, pin, or toothpick to dislodge them. Too much buildup here can degrade the seal that the pump tube forms with the well in the bottom of the coffee pot, and decrease perking efficiency. This can be the reason behind weak or foul tasting coffee from your percolator.
We're sure we don't need to tell you this, but always unplug electric percolators before cleaning and never submerge them. We probably don't have to tell you why.
And, when in doubt, keep in mind that little brown never hurt anyone. Keeping your percolator clean is essential for preserving your system and making the best coffee possible, but some stains and smells aren't going to ruin your machine! Truthfully, these come with the territory of a coffee maker, no matter which kind you prefer.
Do you clean your percolator in a special way? Make sure to share your tips and suggestions in the comments section below!

